FUZIX on the Raspberry Pi Pico: Installing from Arch Linux

Why?
If you're unsure why you would want to waste your precious time with installing an old-school UNIX-clone on a dual-core Cortex M0+ and 264KB RAM beast, let me convince you with my flawless reasoning:
1. Why not?
2. Because we can.
3. And as someone suffering from Obsessive Compulsive UNIX-itis: every device needs UNIX because it needs UNIX.
How?
Shortly after the Pico's release, David Given ported FUZIX to it, you'll find details here. And Alasdair Allan wrote an excellent guide on getting FUZIX onto the Pico here.
So this blog post is just a quick summary of the necessary steps when installing from Arch Linux.
(= basically the steps that differ a bit from the guide/datasheet)
You know, to save you the 15min you'd need to look for and read through the respective Arch Wiki entries yourself...
1. Set up the C/C++ SDK
Assuming you build FUZIX from source, you'll need a working Pico toolchain.
The first steps are identical to the description in the Pico Datasheet in section 2.:
Create a folder for your Pico stuff, in that folder clone the Pico SDK repo and the examples.
Next install the toolchain: you'll need cmake as build system and the GNU Embedded Toolchain for arm.
sudo pacman -S cmake arm-none-eabi-gcc arm-none-eabi-newlib base-devel
(Pretty sure you already have base-devel, but just in case ;))
You can test whether or not everything is setup properly eg. by building the Blink example (see Pico Datasheet for detailed build instructions).
To load it onto the Pico from the command line:
Connect your Pico to your computer via USB cable (hold the BOOTSEL button while doing so), get its file path for example with
lsblk
(and then identifying the Pico either by its size or by unplugging and re-plugging and comparing the output)
or with
dmesg | tail
Create a mountpoint for the pico, mount it and copy blink.uf2 onto the Pico, unmount it when you're done:
sudo mkdir /mnt/pico
sudo mount /dev/wherever_your_pico_is /mnt/pico
sudo cp blink.uf2 /mnt/pico
sudo sync
sudo umount /mnt/pico
2. Get FUZIX onto the Pico
From now on you can happily follow the steps from Alasdair Allan's blog post, until you reach the "connecting via UART" part:
You can choose from a number of options to make a connection, I used minicom:
sudo pacman -S minicom
To be able to make a connection without being root you'll have to add your user to the uucp group:
sudo gpasswd -a your_username uucp
Plug in your Pico and your USB UART connector and find your Pico again as previously described with dmesg | tail.
In my case it's dev/ttyUSB0, so fire up minicom with baudrate 115200:
minicom -b 115200 -o -D /dev/ttyUSB0
(Have a look at the Arch Linux wiki for more information)
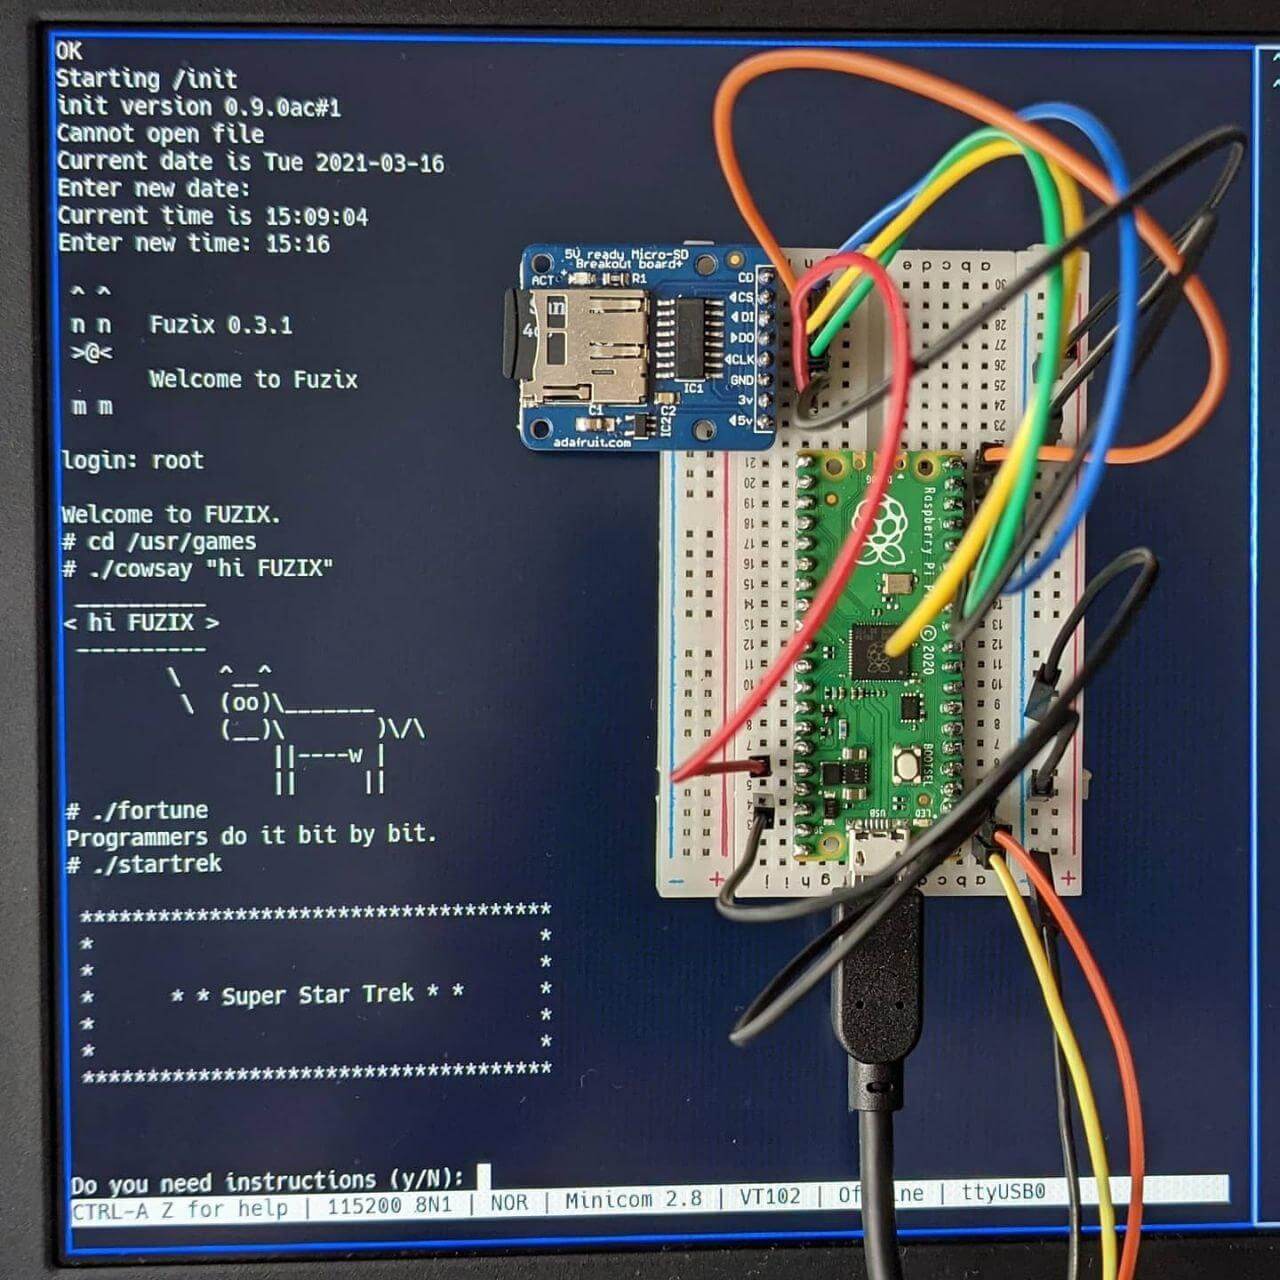
Unplug and plug your Pico to see the FUZIX startup message.
Then type CTRL-A O to open the minicom settings, navigate to Serial port setup and disable Hardware Flow Control.
You're now able to type commands. Set the date and time, use root without password to login and enjoy ;)
(The most important part of the system can be found under /usr/games)